Transcript
Howdy. Today I’m here to talk about my quest to understand the mysterious world of node module dependencies. The good news is, in the end, it’s really not very mysterious. Hopefully, by the end of this screencast I’ll have answered:
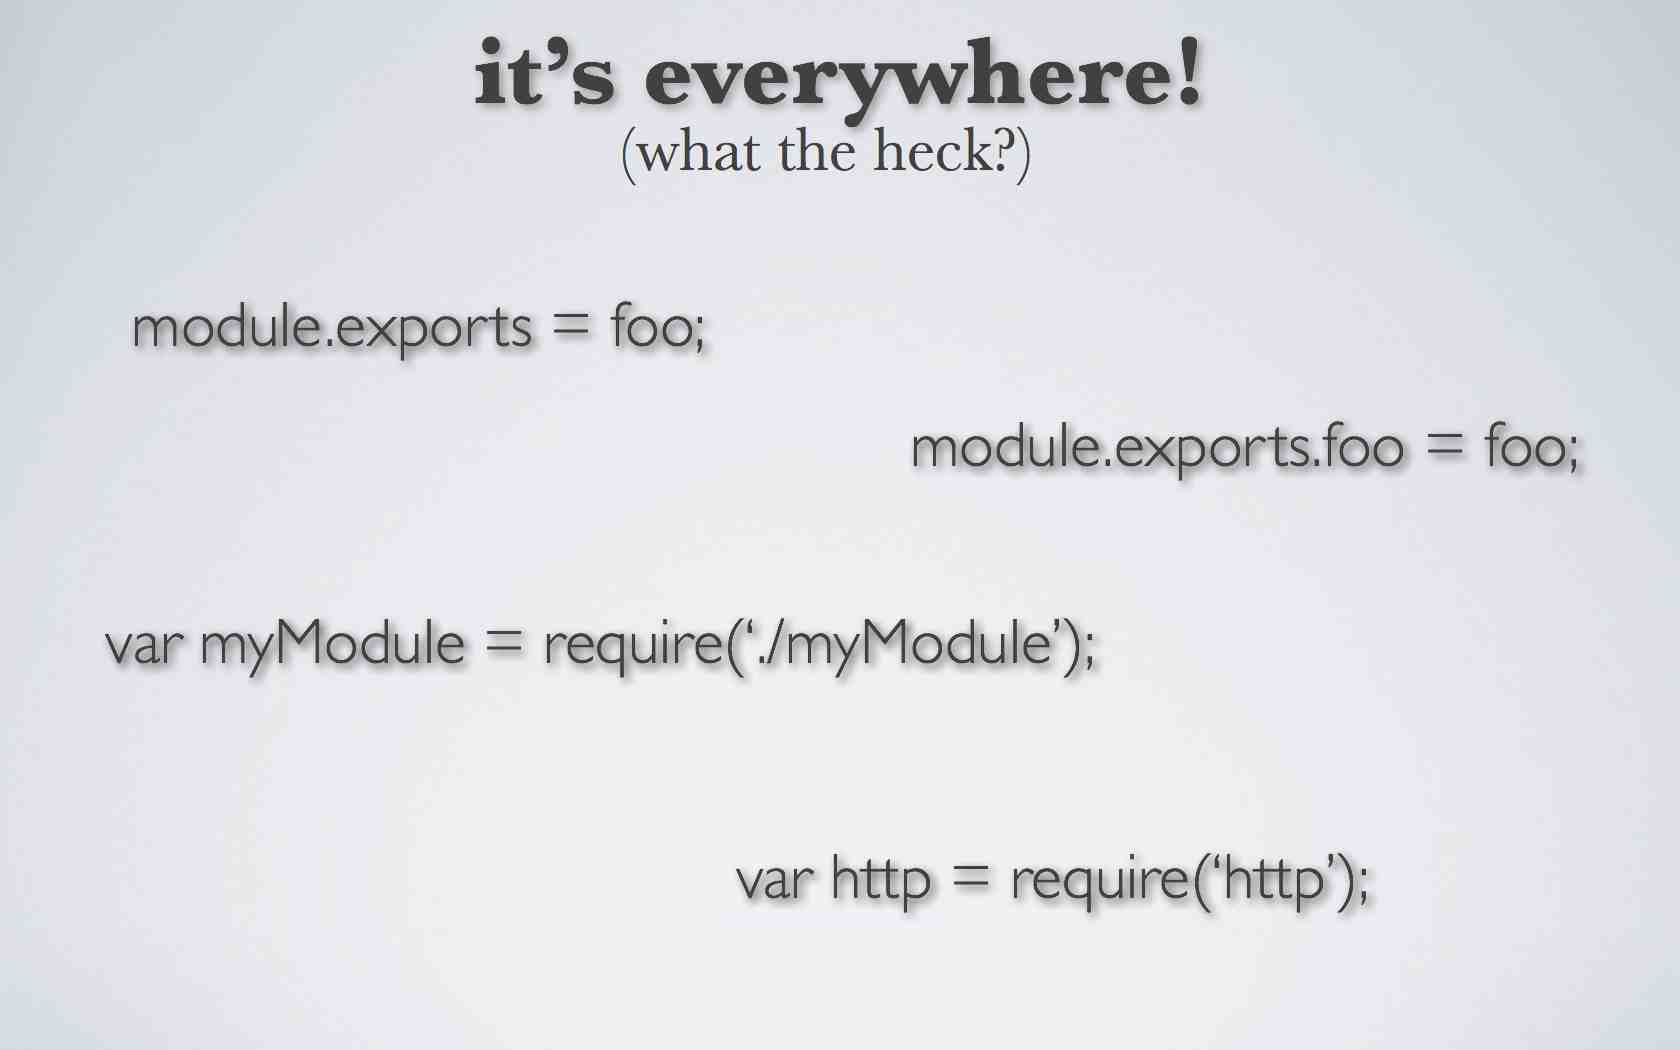
Although I’ll be talking about CommonJS mainly from a node perspective this is completely relevant to sails in that you’ll be using the module pattern in your sails development. If you’ve ever looked at the source of a node application you’ve come across some derivation of the following methods and objects.
Node applications are made up of modules, which are the equivalent of source text files. Actually that’s not completely accurate, a module can also be a compiled node module file, but I’m getting ahead of myself. Each module or text source file is its own domain and the objects, methods, variables, and classes contained in them are oblivious to other objects, methods, variables, and classes contained in other modules. They are in effect private to the module file that contains them. How do we make different module files aware of each other? That’s where the module pattern comes in and specifically node’s use of CommonJS.
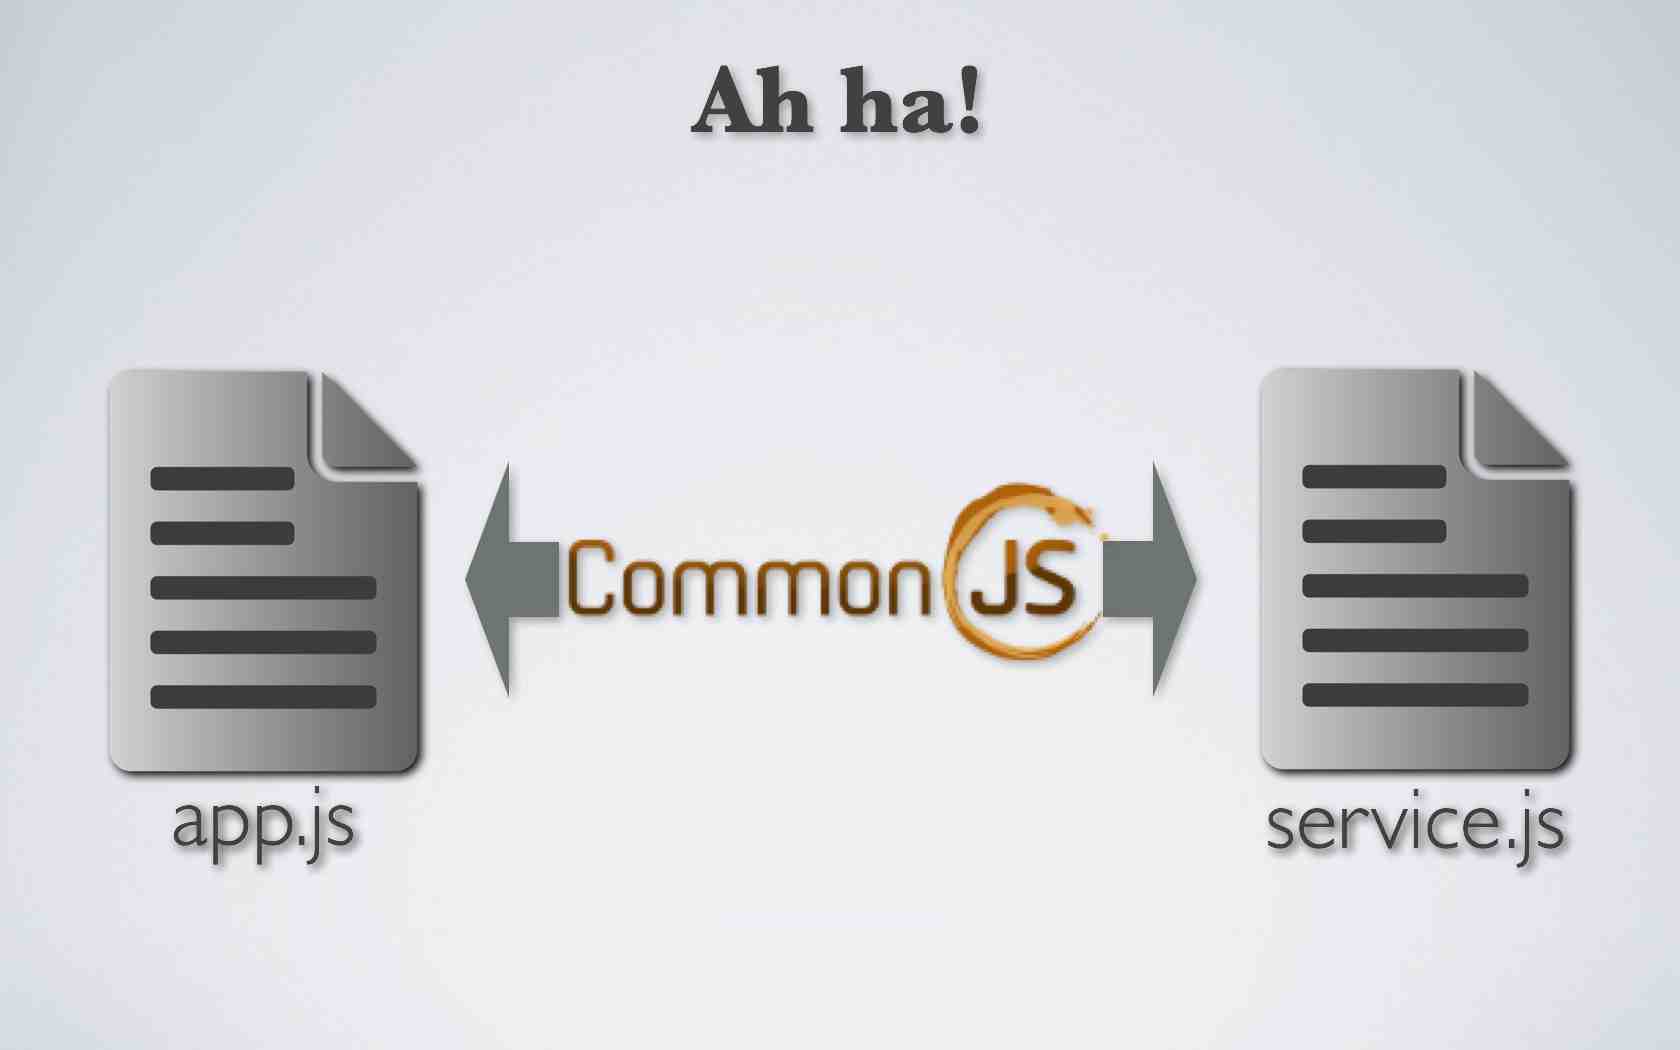
The CommonJS implementation of the module pattern also protects the scope of your code to a particular module instead of opening up everything to a global scope. Therefore, only the modules that are connected in a way which I’m about to describe are aware of each other.
First a quick note on what CommonJS isn’t. At first I got confused between RequireJS and CommonJS. Although CommonJS does use a method named require, CommonJS and RequireJS are not the same thing.

My understanding is that RequireJS was created out of a need for a module loader within the browser as opposed to node which is running on the server. Anyway, don’t make the same mistake I did and start reading the RequireJS documentation thinking it’s the same thing as what’s used in node..
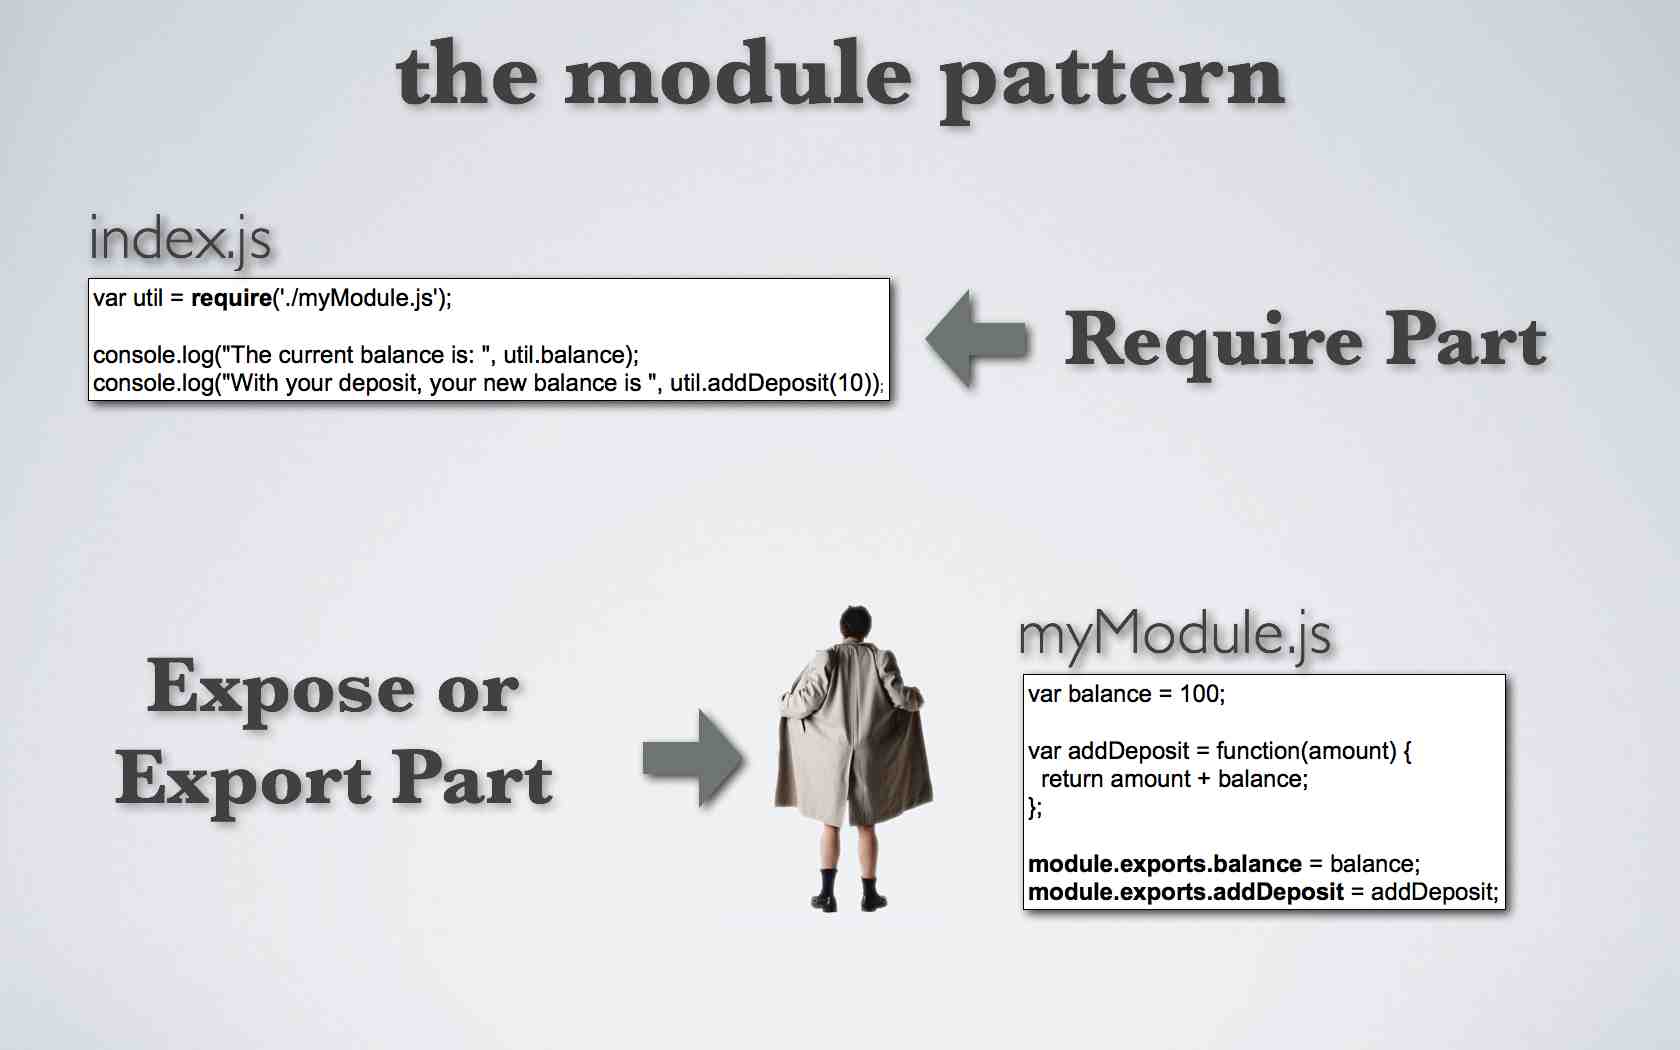
Now on to the module pattern. This pattern consists of two basic steps. One of the steps involves “requiring” a module you want to include from one file while from the other file or module “exposing” the stuff that you want to make available to other modules.
I’m going to talk about the “require” part of pattern first. I think the best way to learn this stuff is through examples. One of the early examples we’re exposed to in learning node is creating a server using the http module. For example:
1 2 3 4 5 6 | |
I want to focus on the first line: var http= require(‘http’); This line creates a reference or variable to the module http. This happens to be one of the modules that comes compiled with node. Armed with our http variable we can now access everything that was exposed in that module via dot notation. For example, that’s how access the createServer method.
However, let’s say we want to create our own module, how would we require it? I’m going to explore several ways of requiring a module but one initial way is to use:
var utility = require('./myModule.js');
So let’s create a new file called index.js.
index.js
1
| |
…and I’ll paste our new require line into the file. Breaking this down we have an arbitrary var named utility referencing a javascript file myModule.JS located in the same directory or relative path as index.js. So before we starting using our new module, we need to create it. So, next I’m going to create another file called myModule.js in the same directory with the following code.
myModule.js
1 2 3 4 5 6 7 8 | |
In this file I added a var called balance and initialized it with a value of 100. Next I created a function addDeposit. The last two lines are the important part. I exposed the var balance by exporting it via module.exports. I could have named the attribute something other than balance but by convention I’m going to use the same name as the actual var. I did the same thing to expose the addDeposit function, that is using module.exports.
Now let’s go back to our index.js file and we’ll use our newly created module.
index.js
1 2 3 4 | |
I can access the exported var and function from myModule through dot notation and my reference named utility. In this case utility.balance for the balance and utility.addDeposit(10) for the function. Again the use of the name utiityl is completely arbitrary, I could have named this reference foo. So let’s see this in action.
I’ll go to the terminal and type node index.js to launch our module. And as we wanted the module returned the balance before and after the deposit.
Next, I’m going to expand this module to act like a class using a function as a constructor. Notice that in addition to the instance attributes and methods I also have class variables and methods (e.g. class_variable and class_method) that are not exposed via require.
myModule1.js
1 2 3 4 5 6 7 8 9 10 11 12 13 14 15 16 17 18 19 20 21 | |
Keeping with the pattern after you expose or export the code you want to make available from your module, we’ll do the other step of the pattern by requiring the module. I’m creating a new file index1.js.
index1.js
1 2 3 4 5 6 7 | |
Here I’m instantiating the Account class reference using the var account while passing in a new balance for the account as an argument. The other change is adding a deposit attribute to the account instance. Now, let’s see this in action.
I’ll go back to the terminal and type node index1.js to launch our module. And as we wanted the module returned the balance before and after the deposit as well as the amount of the deposit itself.
Next I want to show an example of the pattern where we can instantiate the Account class from within the require statement itself.
First, we’ll create a new module named myModule2.js.
myModule2.js
1 2 3 4 5 6 7 8 9 10 | |
On line one I declare the var Account and do the export of the function in the same line of code. I capitalized the A in Account to signify that it represents a class, however, this isn’t necessary to making any of this work and is strictly a convention. I then build up an object that will eventually be returned when Account is instantiated. Now let’s create index2.js:
index2.js
1 2 3 4 5 6 7 | |
Notice in line one where we’re doing our usual require, in this case by putting the arguments on the end of the statement we’re actually creating a new instance of the Account class assigning it to account while passing the argument with a value of 2000. Let’s see how this works.
The results this time reflect passing the initial balance in as an argument and we have access to our instance variables and method as expected.
The last example is where we export an object directly and I’m going to use our model in activityOverlord found in api/models/User.js. Notice that we’re wrapping the entire file with module.exports.
myModule3.js
1 2 3 4 5 6 7 8 9 10 11 12 13 14 15 16 17 18 19 20 21 22 23 24 25 26 27 28 29 30 31 32 33 34 35 36 37 38 39 40 41 42 43 44 45 46 47 48 49 50 51 52 53 54 55 56 57 58 59 60 61 62 63 64 65 66 67 68 69 70 71 72 73 74 75 76 77 78 79 80 81 82 | |
Next, we’ll require this module and take a look at a couple of its attributes.
index3.js
1 2 3 4 | |
Let’s see it in action. As expected we get back the attributes we requested via dot notation.
So where can I put modules?
Okay so the last thing I want to cover is a more extensive look at where we can put modules and how to require them in these different locations. As I mentioned at the beginning of the screencast there’s a distinction between node’s core modules and our own custom file modules we’ve been working with. Core modules like http can be referenced by using just the module name (e.g. ‘http’). For file modules we have a bunch of options.
So far, we’ve been accessing our modules via relative paths. But we could also use an absolute path like:
var myModule = require(‘/home/api/foo.js’);
You can also require a file module without using ‘/’, ‘./’ or ‘../’ however, the module must be placed in a node_modules folder. The node documentation has a good example I’ve included here.
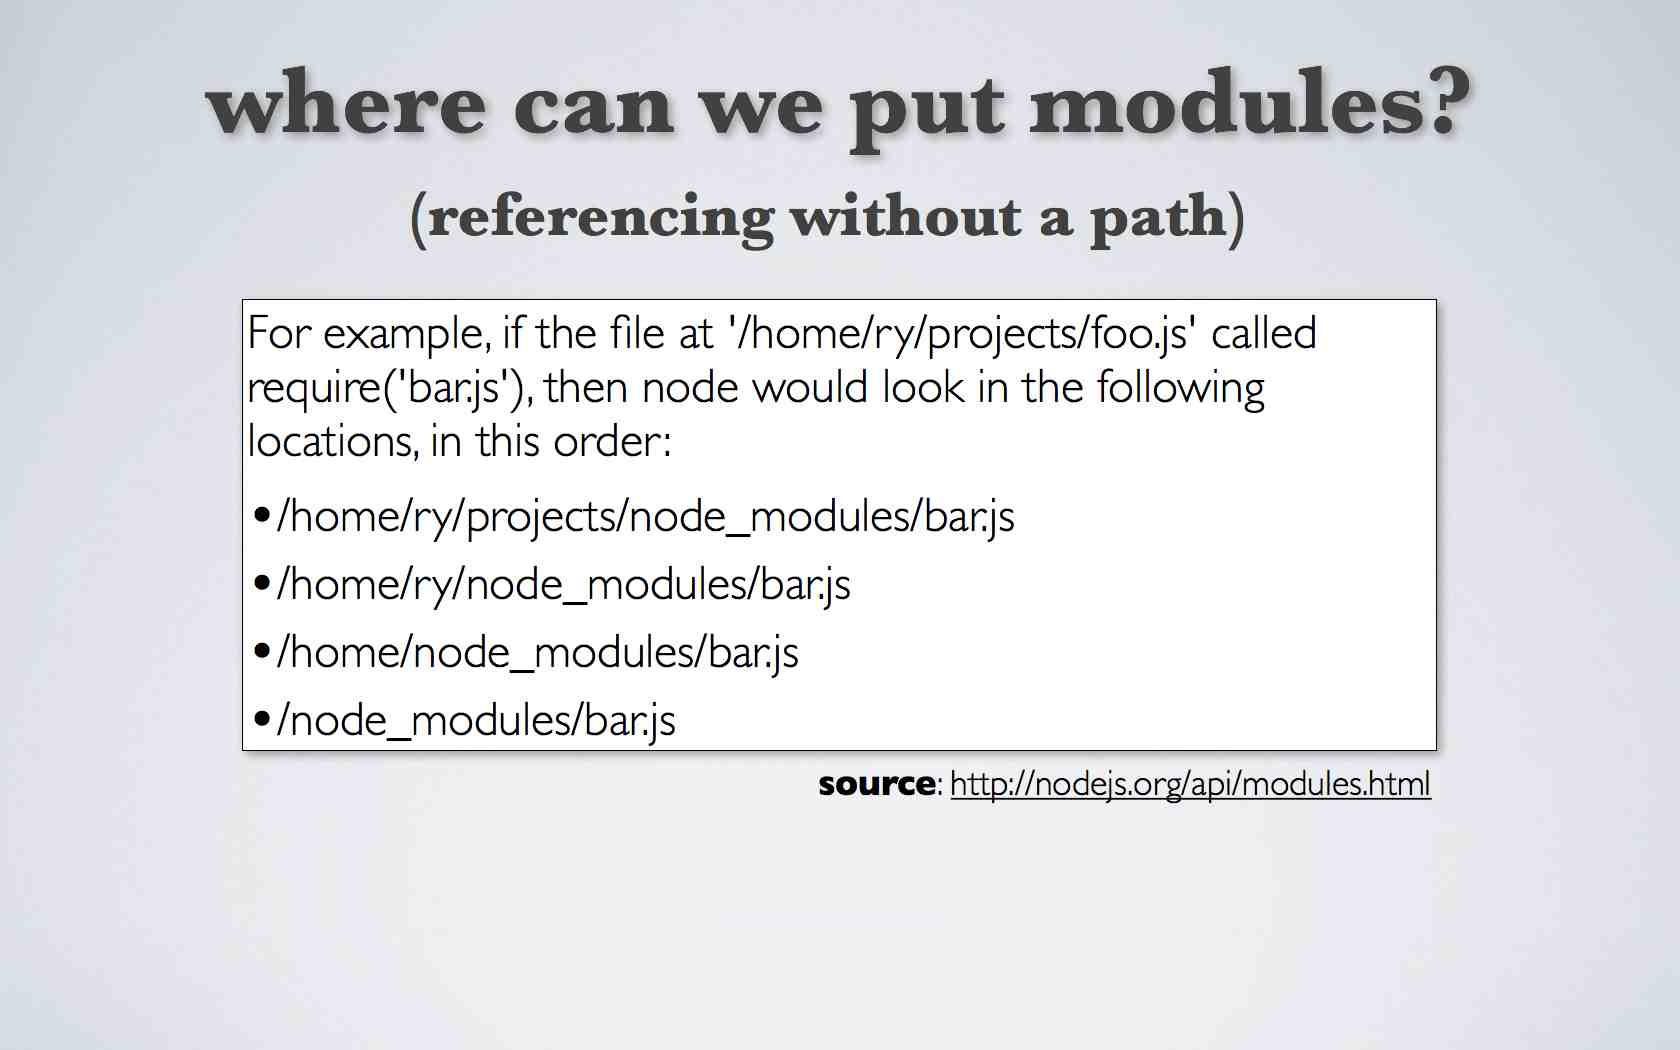
So node will first look in the same directory where the file that it’s calling is located, in this example /home/ry/projects/node_modules. If it doesn’t find it there it will traverse up the file system path until it either finds the node_modules folder and module or gets to the root of the path without finding it in which case returning a ‘module not found’ error.
Folders as Modules
The final area I want to look at is using Folders as Modules. This happens when you want to provide a package or library that is organized using a directory structure with one entry point to the package or library. For example, let’s say you have a new templating library superTemp and all of its supporting modules will be installed at the root of /superTemp.

You could require the library by using:
var superTemp = require(‘./superTemp’);
So what are my options for the entry point or the initial javascript file? If I create a file index.js and put it in ‘./superTemp’, node will run that file first. I could also use the extension index.node. Finally, if I wanted to use a different name than index you can create a package.json file using the following syntax:
1 2 | |
So let’s see how that works. I’ve set-up an admittedly contrived directory structure under this example 1 folder. So we have a module index.js that requires another module, myModule.js in the otherDir folder. Notice that the parenthesis at the end of the statement which means we’ll be instantiating the function. myModule.js is a just a function that logs “Our app is launched!”. Finally, we have a file launcher.js that requires the folder /super_temp. So now I’ll go to the terminal and type node launcher and we get our log message that our app has launched.
Now let’s go into the example two folder. Again a contrived directory structure but here instead of an index.js file we have a package.json file. The package.json file points to myCrazyNamingConventionDealWithIt.js module. And like our other example that module points to myModule in the otherDir folder. Let’s see what happens. And again we get the expected results.
Okay gang, I know that was a bunch of stuff. I hope it was helpful and thanks for watching as always.